How do I add or change branding in an item in the Drag and Drop editor?
If you are using a Drag and Drop template with a placeholder for branding, LibraryAware will automatically populate the placeholder with the default branding defined for your promotion.
Some Drag and Drop templates will not have a placeholder for a branding block. You will not be able to add branding to these templates.
Note: Branding in A3 and A4 templates is inserted as an image. In a template, select the branding and click the Swap Image button to change your branding.
To change your branding:
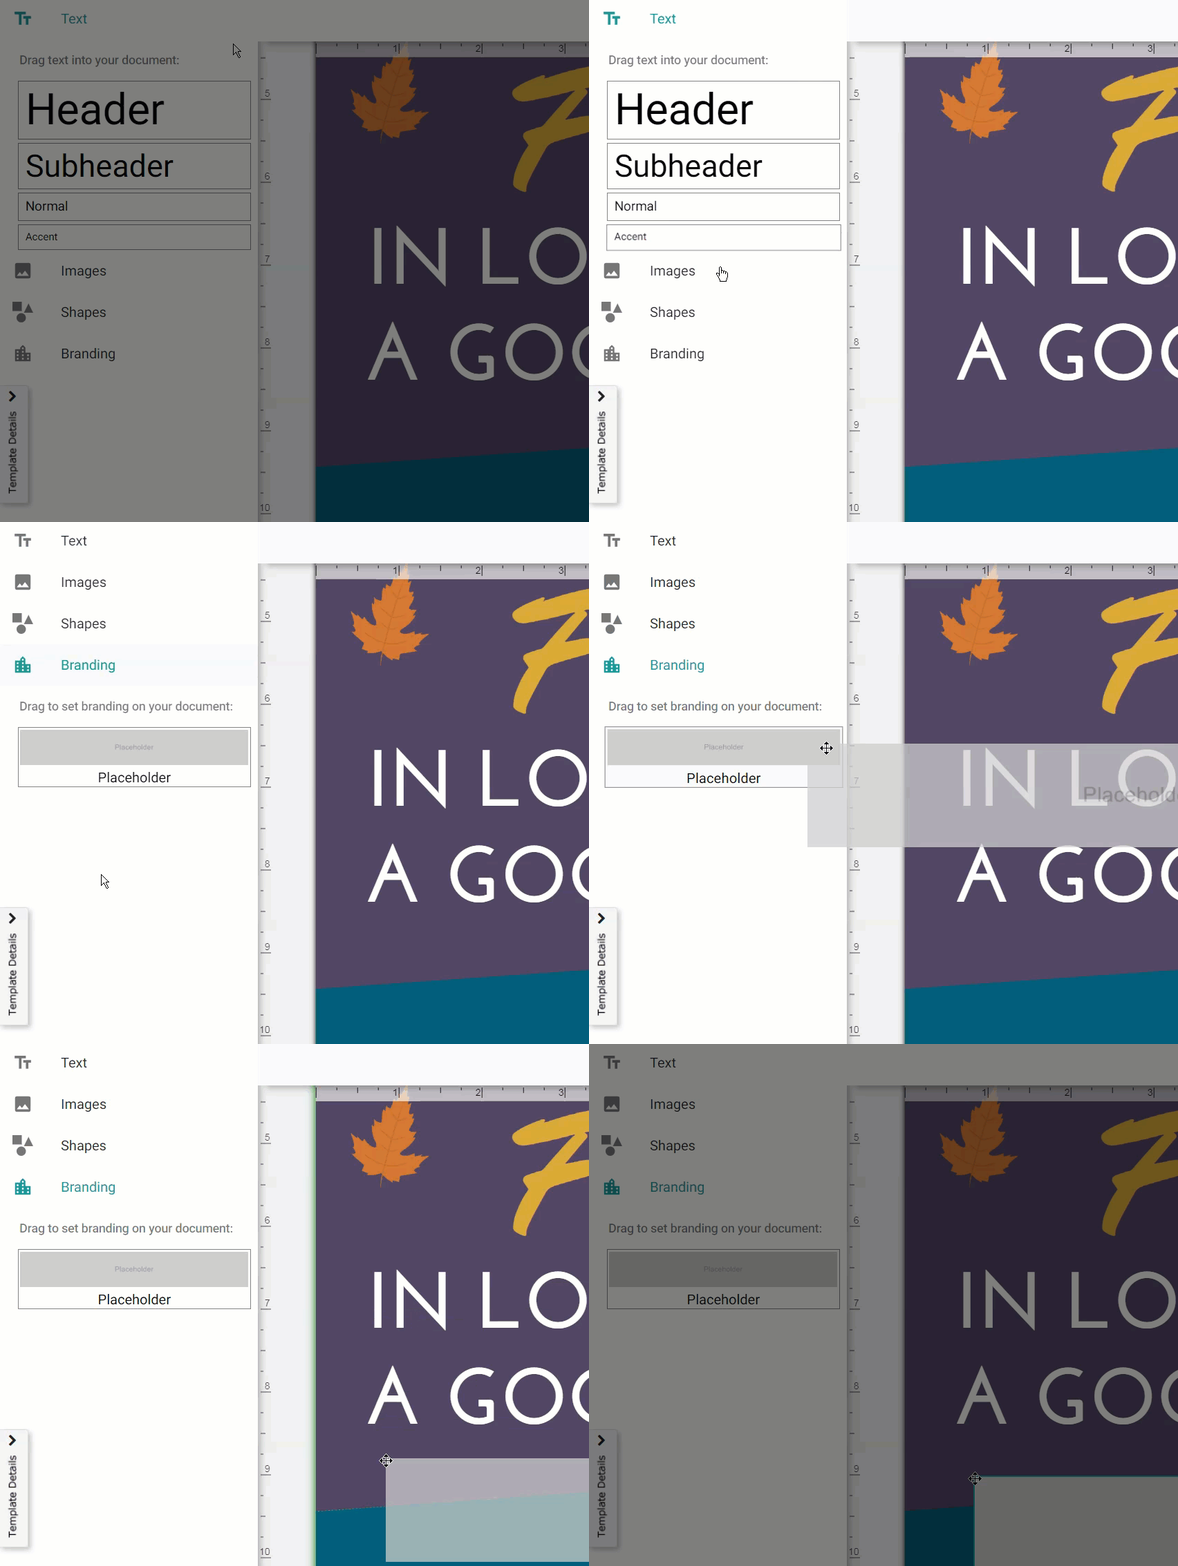
- Click Branding from the left panel of the Drag and Drop editor. All of your organization's branding sets will appear.
- Use your mouse to click and drag a new branding set to your item. With your mouse over the existing branding placeholder, release your mouse to drop the new branding.
Note: The new branding will not be added if your mouse pointer is not directly over the branding placeholder. Drag the left side of the new branding to the middle of the branding placeholder until you see a preview of new branding in the item.
To add, remove, or move branding from an item template:
Note: To make changes to the branding block in your item template, you will need to create a custom template. Only LibraryAware Administrators can create custom templates.
- Click Admin from the top toolbar in LibraryAware.
- Select Template Management from the menu on the left.
- Click the orange Create from Existing Template button.
- From the Template Selection page, choose the Print: Drag and Drop type. You will only be able to add, delete, or move branding within Drag and Drop templates.
- Select your Format.
- Select a template that you would like to copy and click Create Copy under the Template Preview.
- To delete a branding block:
- From the editor, click on the gray placeholder for the branding block.
- Click the Delete key on your keyboard.
- To add a branding block:
- From the editor, click Branding in the left menu.
- Using your mouse, drag the branding placeholder to your template, and move it to where you would like it to appear.

- To move a branding block:
- From the editor, click on the gray placeholder for the branding block.
- Using your mouse, click and drag the placeholder to reposition it in your template.
- Make any other changes you would like to the template.
- Click Save and name your template.
- Create a new item with your template by clicking Promotion at the top of the screen.
- Click Print: Drag and Drop under type, select the format of the template.
- Locate your new custom template and click Select This Template under Template Preview.
