How do I add and edit images in the Drag and Drop editor?
Add an image
Swap an image
Crop an image
Resize an image
Add alt text to an image
Add opacity to an image
Move your image
Layer your image
Rotate your image
Add links to your image
Delete an image
Swap an image
Crop an image
Resize an image
Add alt text to an image
Add opacity to an image
Move your image
Layer your image
Rotate your image
Add links to your image
Delete an image
To add an image to your item:
- From the left panel in the Drag and Drop editor, click Images.
- Double-click on an image style to add it to the first page of your item. Or drag the image style to any page in your item, with your mouse. Make sure your mouse cursor is over the item when you release your mouse.

- When the image type is added to your item, the image selector window will display.
- If you selected Images, you can view all LibraryAware images and any images your library has uploaded.
- Keyword(s) search: Search for images tagged with specific keywords. If you are looking for graphic elements, take a look at our specific keywords for those images.
- Filter by Organization: If you have access to multiple organizations' LibraryAware accounts, you can choose which organization's images are displayed.
- Source(s): By default, all images (LibraryAware stock images and your library's uploaded images) will be displayed. You can use the drop-down to Exclude Stock Photos (i.e. show only your library's images), or show Only Stock Photos (i.e. exclude your library's images).
- Sort by: You can sort by Name A-Z or Z-A or by Date Uploaded Newest First or Oldest First.
- Select an image from your computer: Click this button to locate and open an image from your local computer. Your image will be uploaded to LibraryAware.
- URL for online image: If you locate an image online, you can right-click on the image to copy the image location. You can then paste the URL for the image into this field. Click Upload to upload it to LibraryAware.
- If you selected Promotions, you can view and add thumbnails for an Item your library has created.
- Search: Search for an Item by name.
- Sort by: You can sort by Name A-Z or Z-A or by Date Created Newest First or Oldest First.
- If you selected Book Jackets or AV Cover Art, you can search for a jacket image to add.
- Search: Use the drop-down menu to select a field to search, then enter your search terms.
- Hovering over an image will display more information about the image.
- Click Select Image or Select Jacket to insert that image in your template.
To swap an image:
- Select your image.
- In the editor toolbar, click the Swap Image button.

- See instructions above for information on using the image selector window. When you replace an image, the new image will be pulled in already sized to that of the original image.
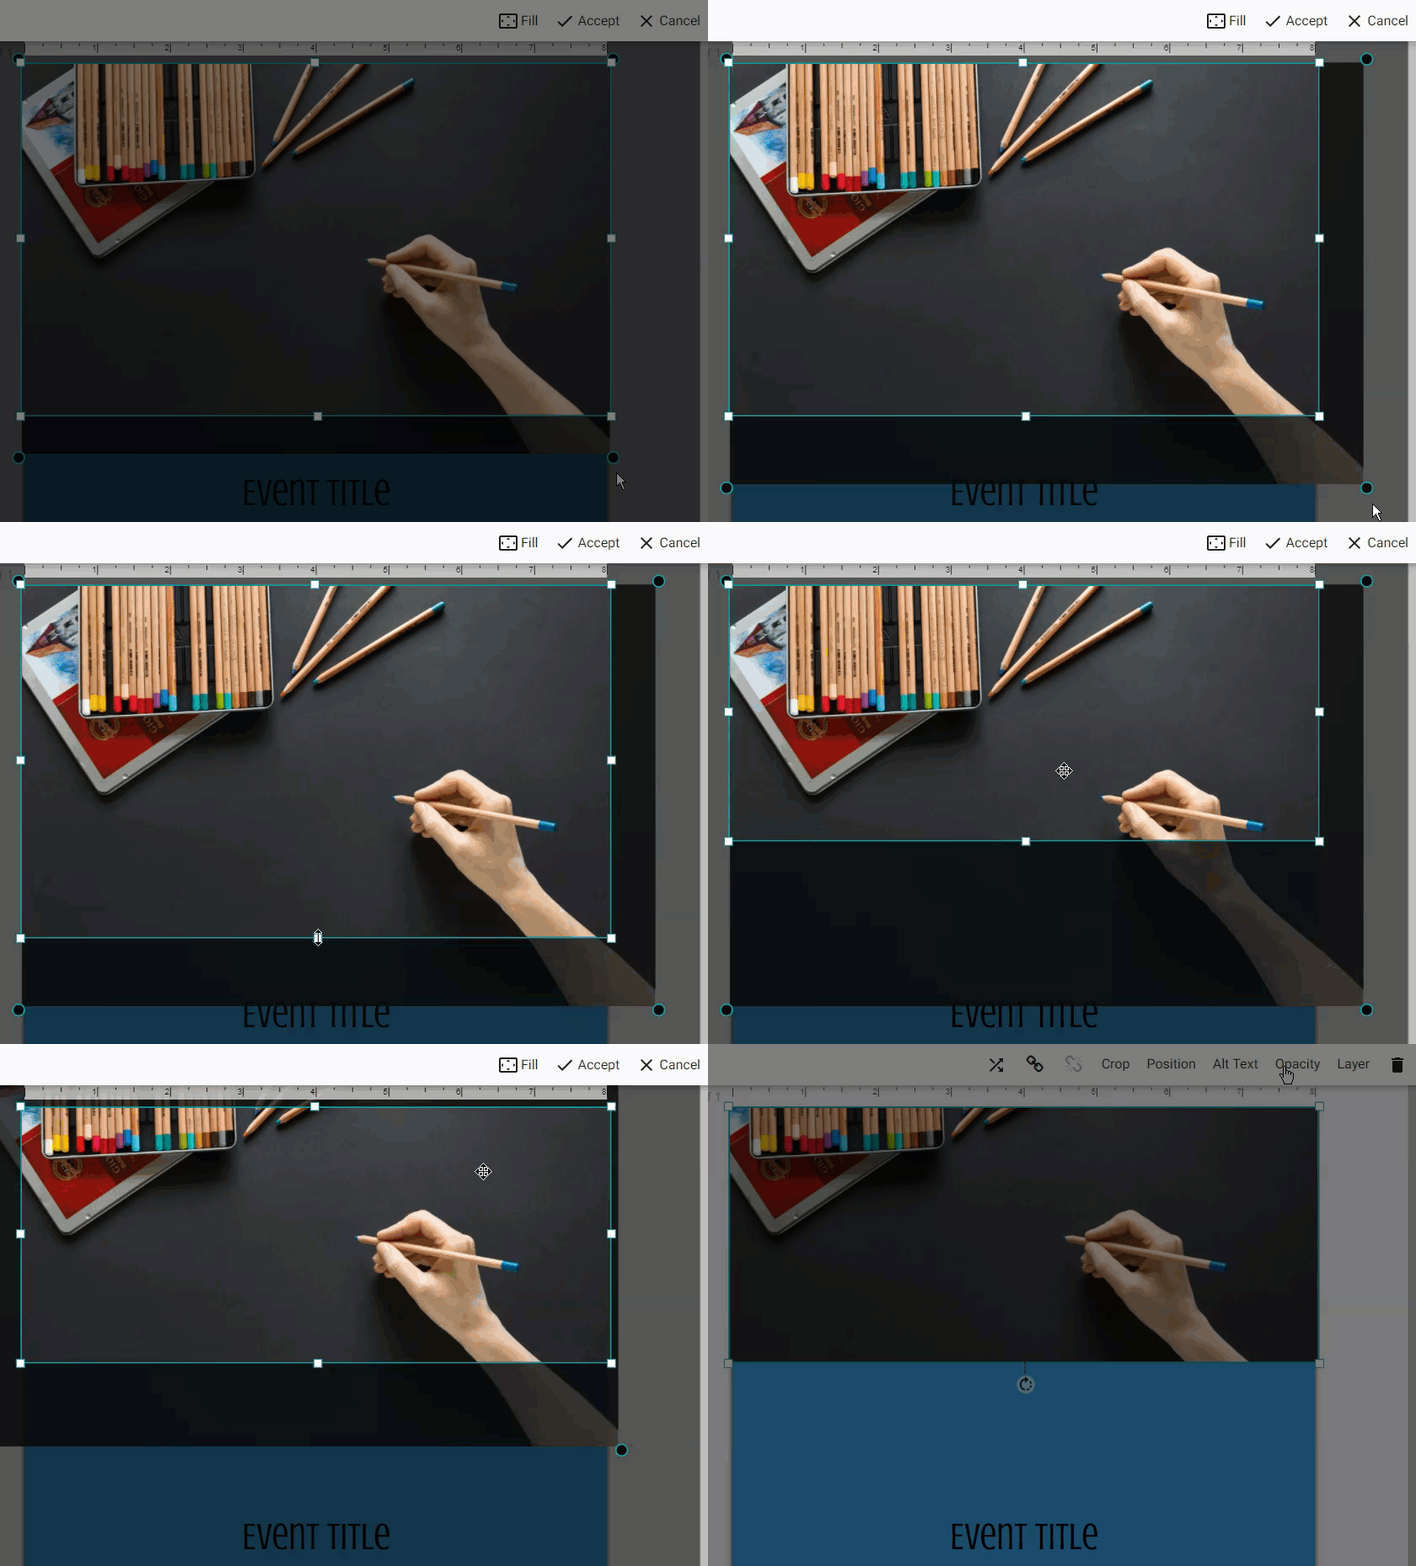
- Use the square handles to crop the image box, or use the circular handles to enlarge or shrink the image. Or click the Fill button in the toolbar to fill the image box.
- Click Accept in the toolbar.
To crop an image:
- Click on your image to select it.
- Click the Crop button in the toolbar.
- Use the square handles to crop the image box, or use the circular handles to enlarge or shrink the image. Or click the Fill button in the toolbar to fill the image box.
- Click Accept in the toolbar.

To resize an image:
- Click on your image to select it.
- With your mouse, use the handles at the corners of the image to resize the image.
To add alt text to an image:
Using alt text for images is an important way for your organization to ensure your promotional materials are accessible to blind and visually impaired users.
To add opacity to an image:
See the instructions for moving elements at the How do I move an element? page.
- Click on your image to select it.
- In the editor toolbar, click the Alt Text icon.
- Enter the alternate text for the image. The alt text is the text that will display if an image cannot load or if a screen reader is being used.
- Click OK.
To add opacity to an image:
- Click on your image to select it.
- Click the Opacity link in the toolbar.
- Use the slider to change the opacity of your image.

- Close the opacity window with the X in the corner.
To move your image:
See the instructions for moving elements at the How do I move an element? page.
To layer your image:
See the instructions on working with layers at the How do I work with layers? page.
To delete an image:
To rotate your image:
- Click on your image to select it.
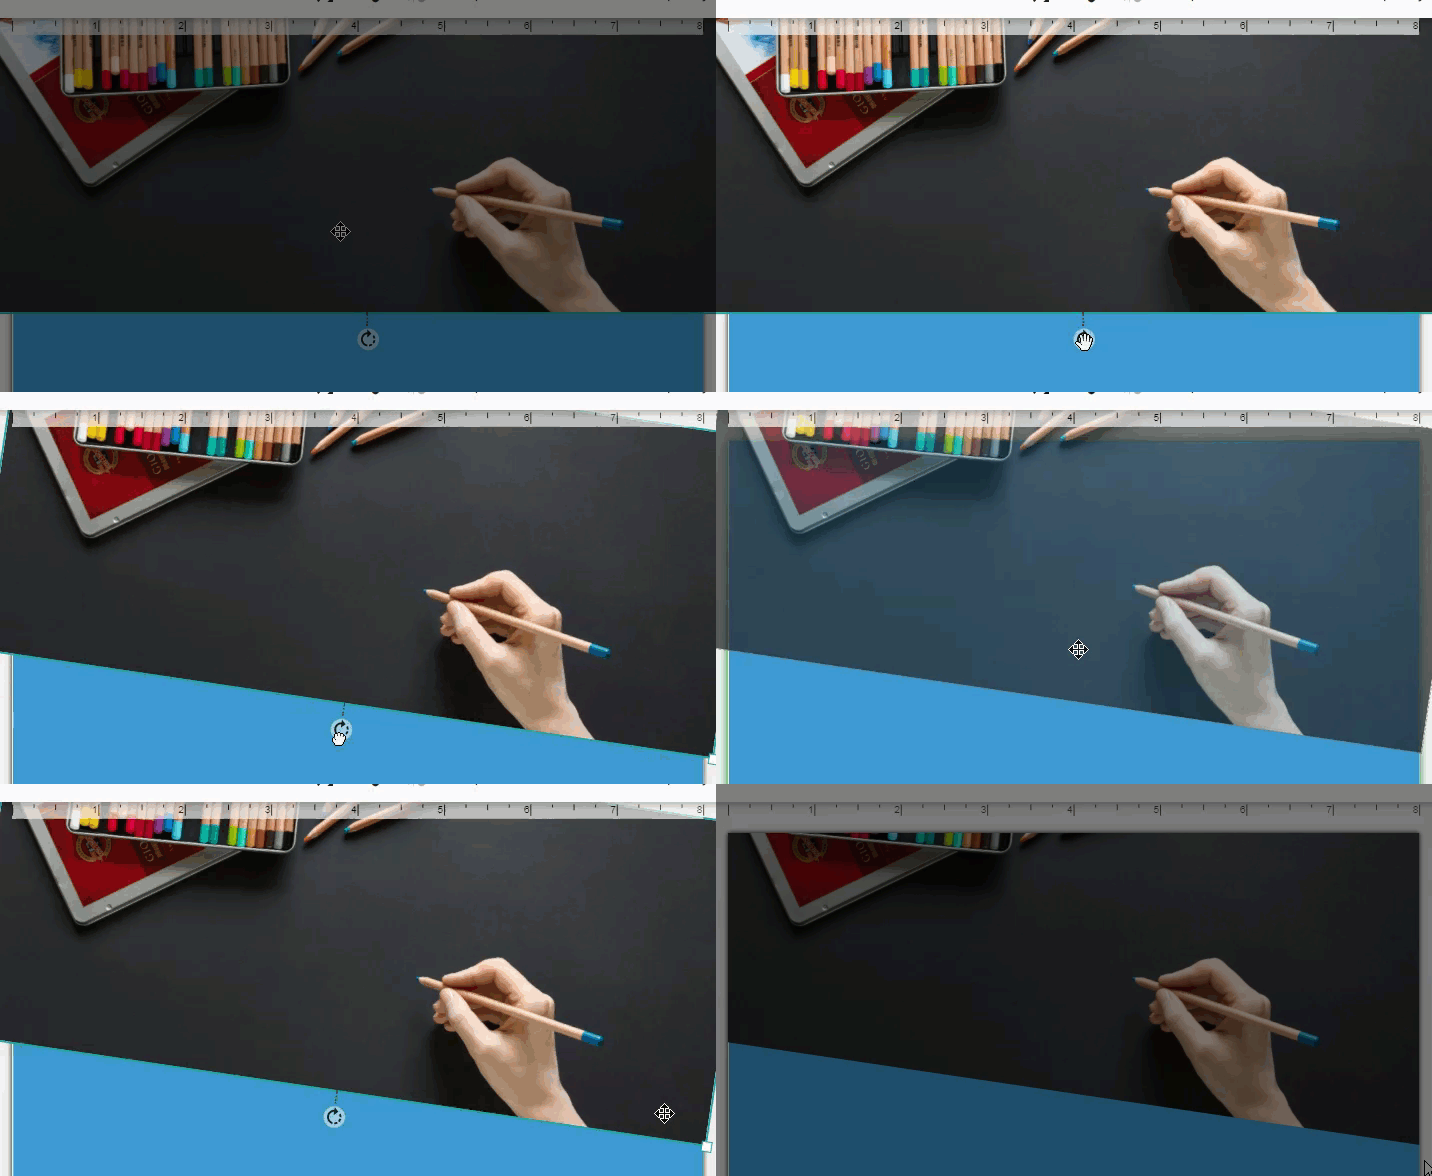
- With your mouse, grab the rotate handle at the center bottom edge of the image.
- Drag the rotate handle to rotate your image.

To add links to your image:
- Click on your image to select it.
- In the editor toolbar, click the Add/Edit Link button.
- The Add/Edit Link window will display.
- To link to a book in your catalog:
- Select the Book tab at the Add/Edit Link window.
- Click the Select Book button.
- Search for a book.
- Click the Use this Book button beside the book you want to link to.
- At the Add/Edit Link window, your book information will display. You can edit the title, author, ISBN, UPC to match the information in your catalog.
- From the Preferred Catalog Link field, select the type of catalog search you want this link to perform. LibraryAware will use the Catalog Link Formats entered at the Basic Settings page to construct the link for the book.
- The Link Preview will change based on your selection in the Preferred Catalog Link field. Click on the URL under Link Preview to test the catalog link.
- To link to an e-resource:
- Select the E-Resource tab at the Add/Edit Link window.
- Click the Select E-Resource button.
- Select the e-resource you would like to link to by clicking Use this e-resource.
- From the drop-down menu, select the Link Format that you want to use.
- When you select the Link Format, you will be asked to enter the required parameters for that link prototype, for example the generic search query.
Note: Your link prototypes were defined at the E-Resources page under Admin. - To link to an uploaded file:
- Select the Uploaded File tab at the Add/Edit Link window.
- Click the Choose File button.
- Find and select the file on your local computer. You can select a file up to 5 MB in size. The following file types can be uploaded:
- .txt
- .doc
- .docx
- .xls
- .xlsx
- .mp3
- .png
- .gif
- .jpeg
- .jpg
- Click Open.
- To link to custom URL:
- Select the Custom tab at the Add/Edit Link window.
- Enter the URL for your link. Make sure to include “http://” or “https://”.
- To add a mailto: link that will open an email to a particular email address (email will open in the default email client for the user):
- Select the Mail To tab at the Add/Edit Link window.
- In the Recipient field, enter the email address for your link.
- Enter a Subject and/or Body that will appear in the email by default.
- Click the OK button to add your link to the item.
To delete an image:
- Click on your image to select it.
- Use the Delete key on your keyboard to delete the image or click the Trash icon that appears in the top right corner.
